Visual Studio Code Dev Container Setup
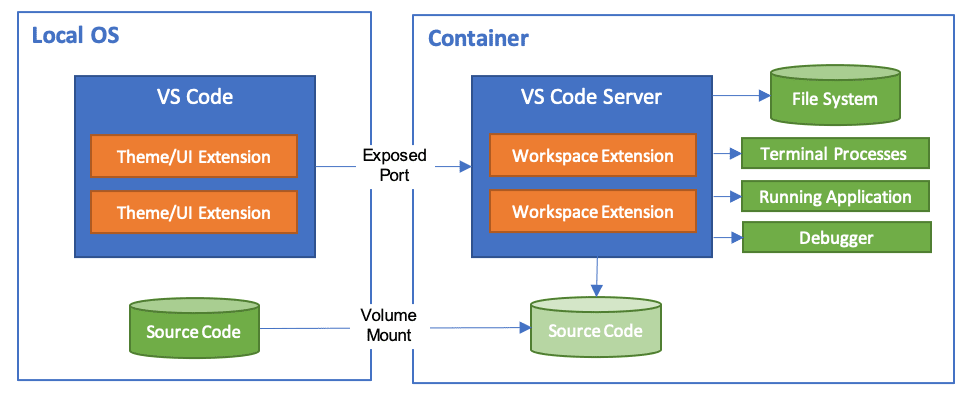
The Visual Studio Code Dev Containers lets you use a Docker container as a full-featured development environment.

System requirements
Before processing, make sure you have the lateset version of Git, Virsual Studio Code, Docker and docker-compose.
Install Git
Install it from offical website.
Install Docker & docker-compose
- Windows: Docker Desktop 2.0+ on Windows 10 Pro/Enterprise. Windows 10 Home (2004+) requires Docker Desktop 2.3+ and the WSL 2 back-end. (Docker Toolbox is not supported. Windows container images are not supported.)
- macOS: Docker Desktop 2.0+.
- Linux: Docker CE/EE 18.06+ and Docker Compose 1.21+. (The Ubuntu snap package is not supported.)
Install Visual Studio Code
Visual Studio Code is a free code editor, which runs on the macOS, Linux, and Windows operating systems.
Follow the platform-specific guides below:
- MacOS
- Windows
- Linux
- Download Visual Studio Code for macOS.
- Open the browser's download list and locate the downloaded app or archive.
- If archive, extract the archive contents. Use double-click for some browsers or select the 'magnifying glass' icon with Safari.
- Drag
Visual Studio Code.appto the Applications folder, making it available in the macOS Launchpad. - Open VS Code from the Applications folder, by double clicking the icon.
- Download the Visual Studio Code installer for Windows.
- Once it is downloaded, run the installer (VSCodeUserSetup-{version}.exe). This will only take a minute.
- By default, VS Code is installed under
C:\Users\\{Username\}\AppData\Local\Programs\Microsoft VS Code.
Following the offical Linux install guide.
Install Remote container extension
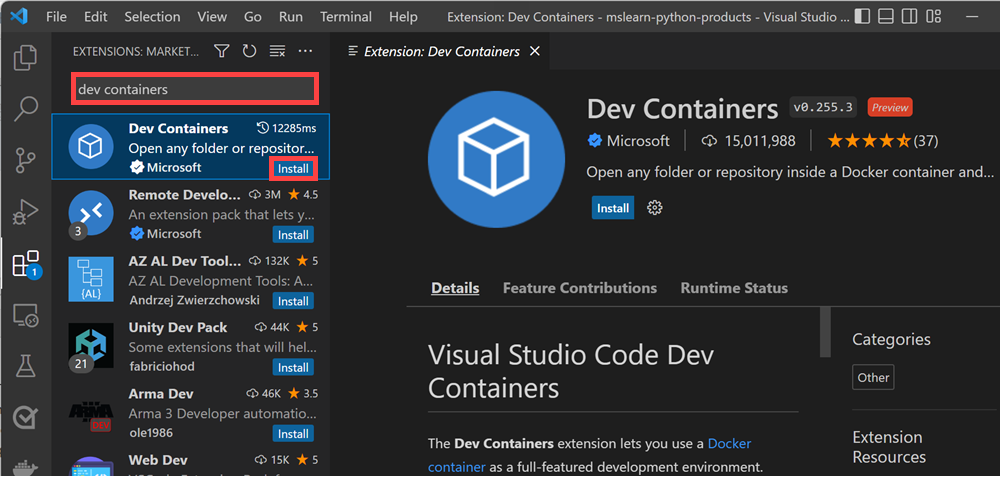
Install the Remote Container extension.

Fetch Zealot Codesoace
Zealot Codespace was in the .devcontailer folder of Zealot project, so you need clone the source code.
git clone https://github.com/tryzealot/zealot.git
Explan these files in Codespace:
| File | Description |
|---|---|
devcontainer.json | VSCode devcontainer config |
Dockerfile.base | Base Dockerfile, auto push multi registry servers after changes |
Dockerfile | Speed up build time, depends on above image. |
docker-compose.yml | All services of Zealot |
create-db-user.sql | Create user and role for Zealot |
Open the project in a container
Start Visual Studio Code, run the Dev Containers: Open Folder in Container... command in Command Palette and select the Zealot folder.

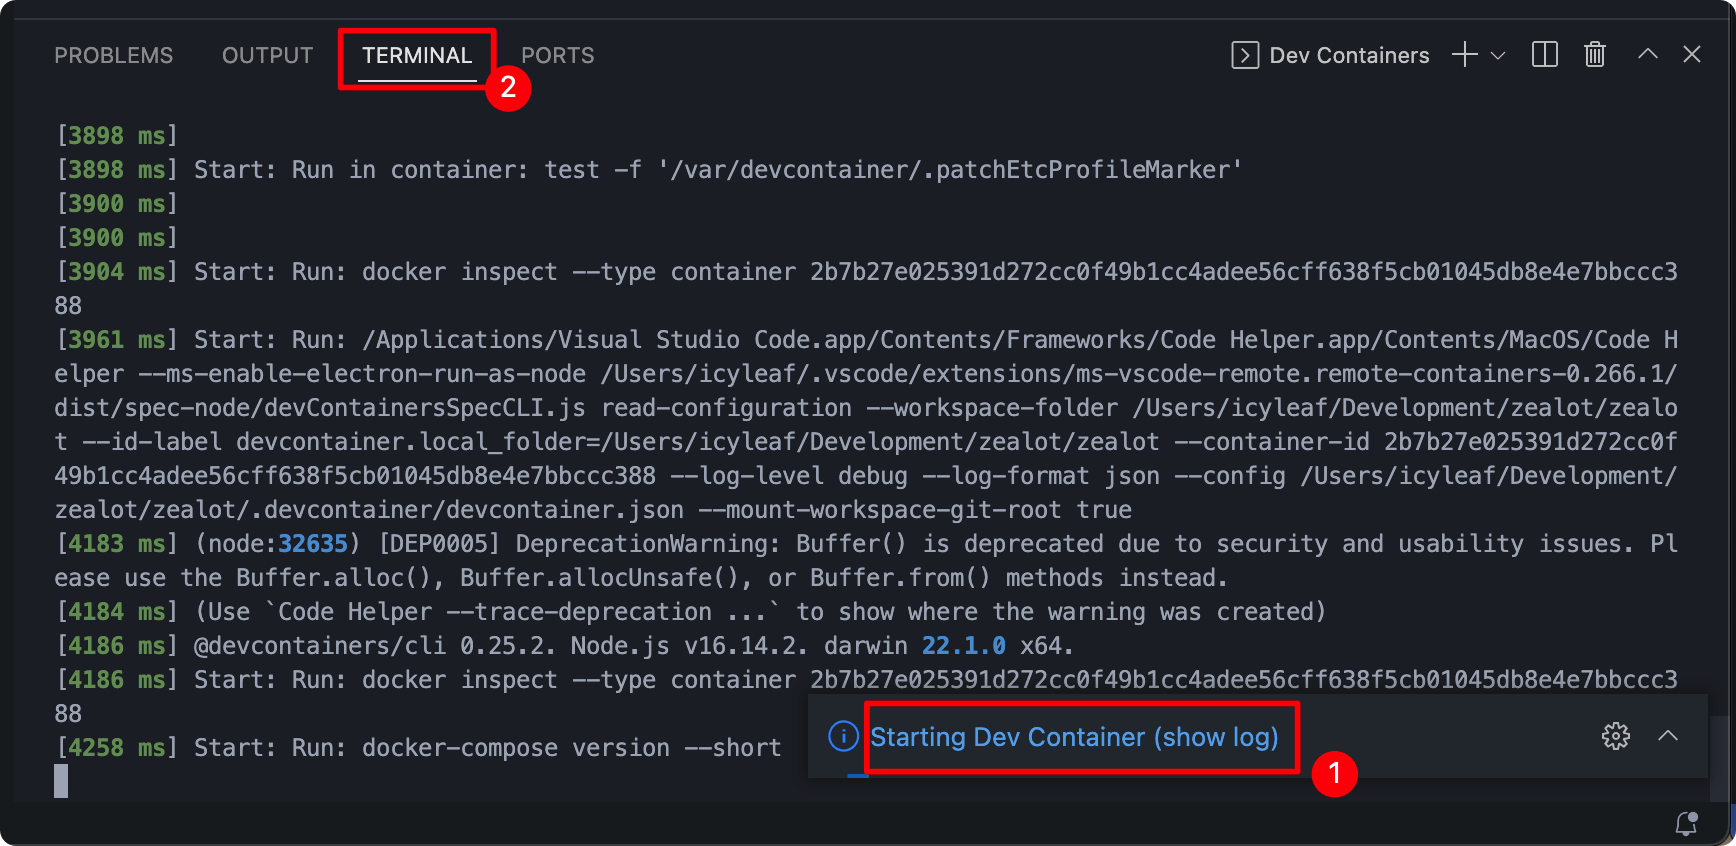
Click the Starting Dev Container (show log) to review zealot codespace build real time logging messages.

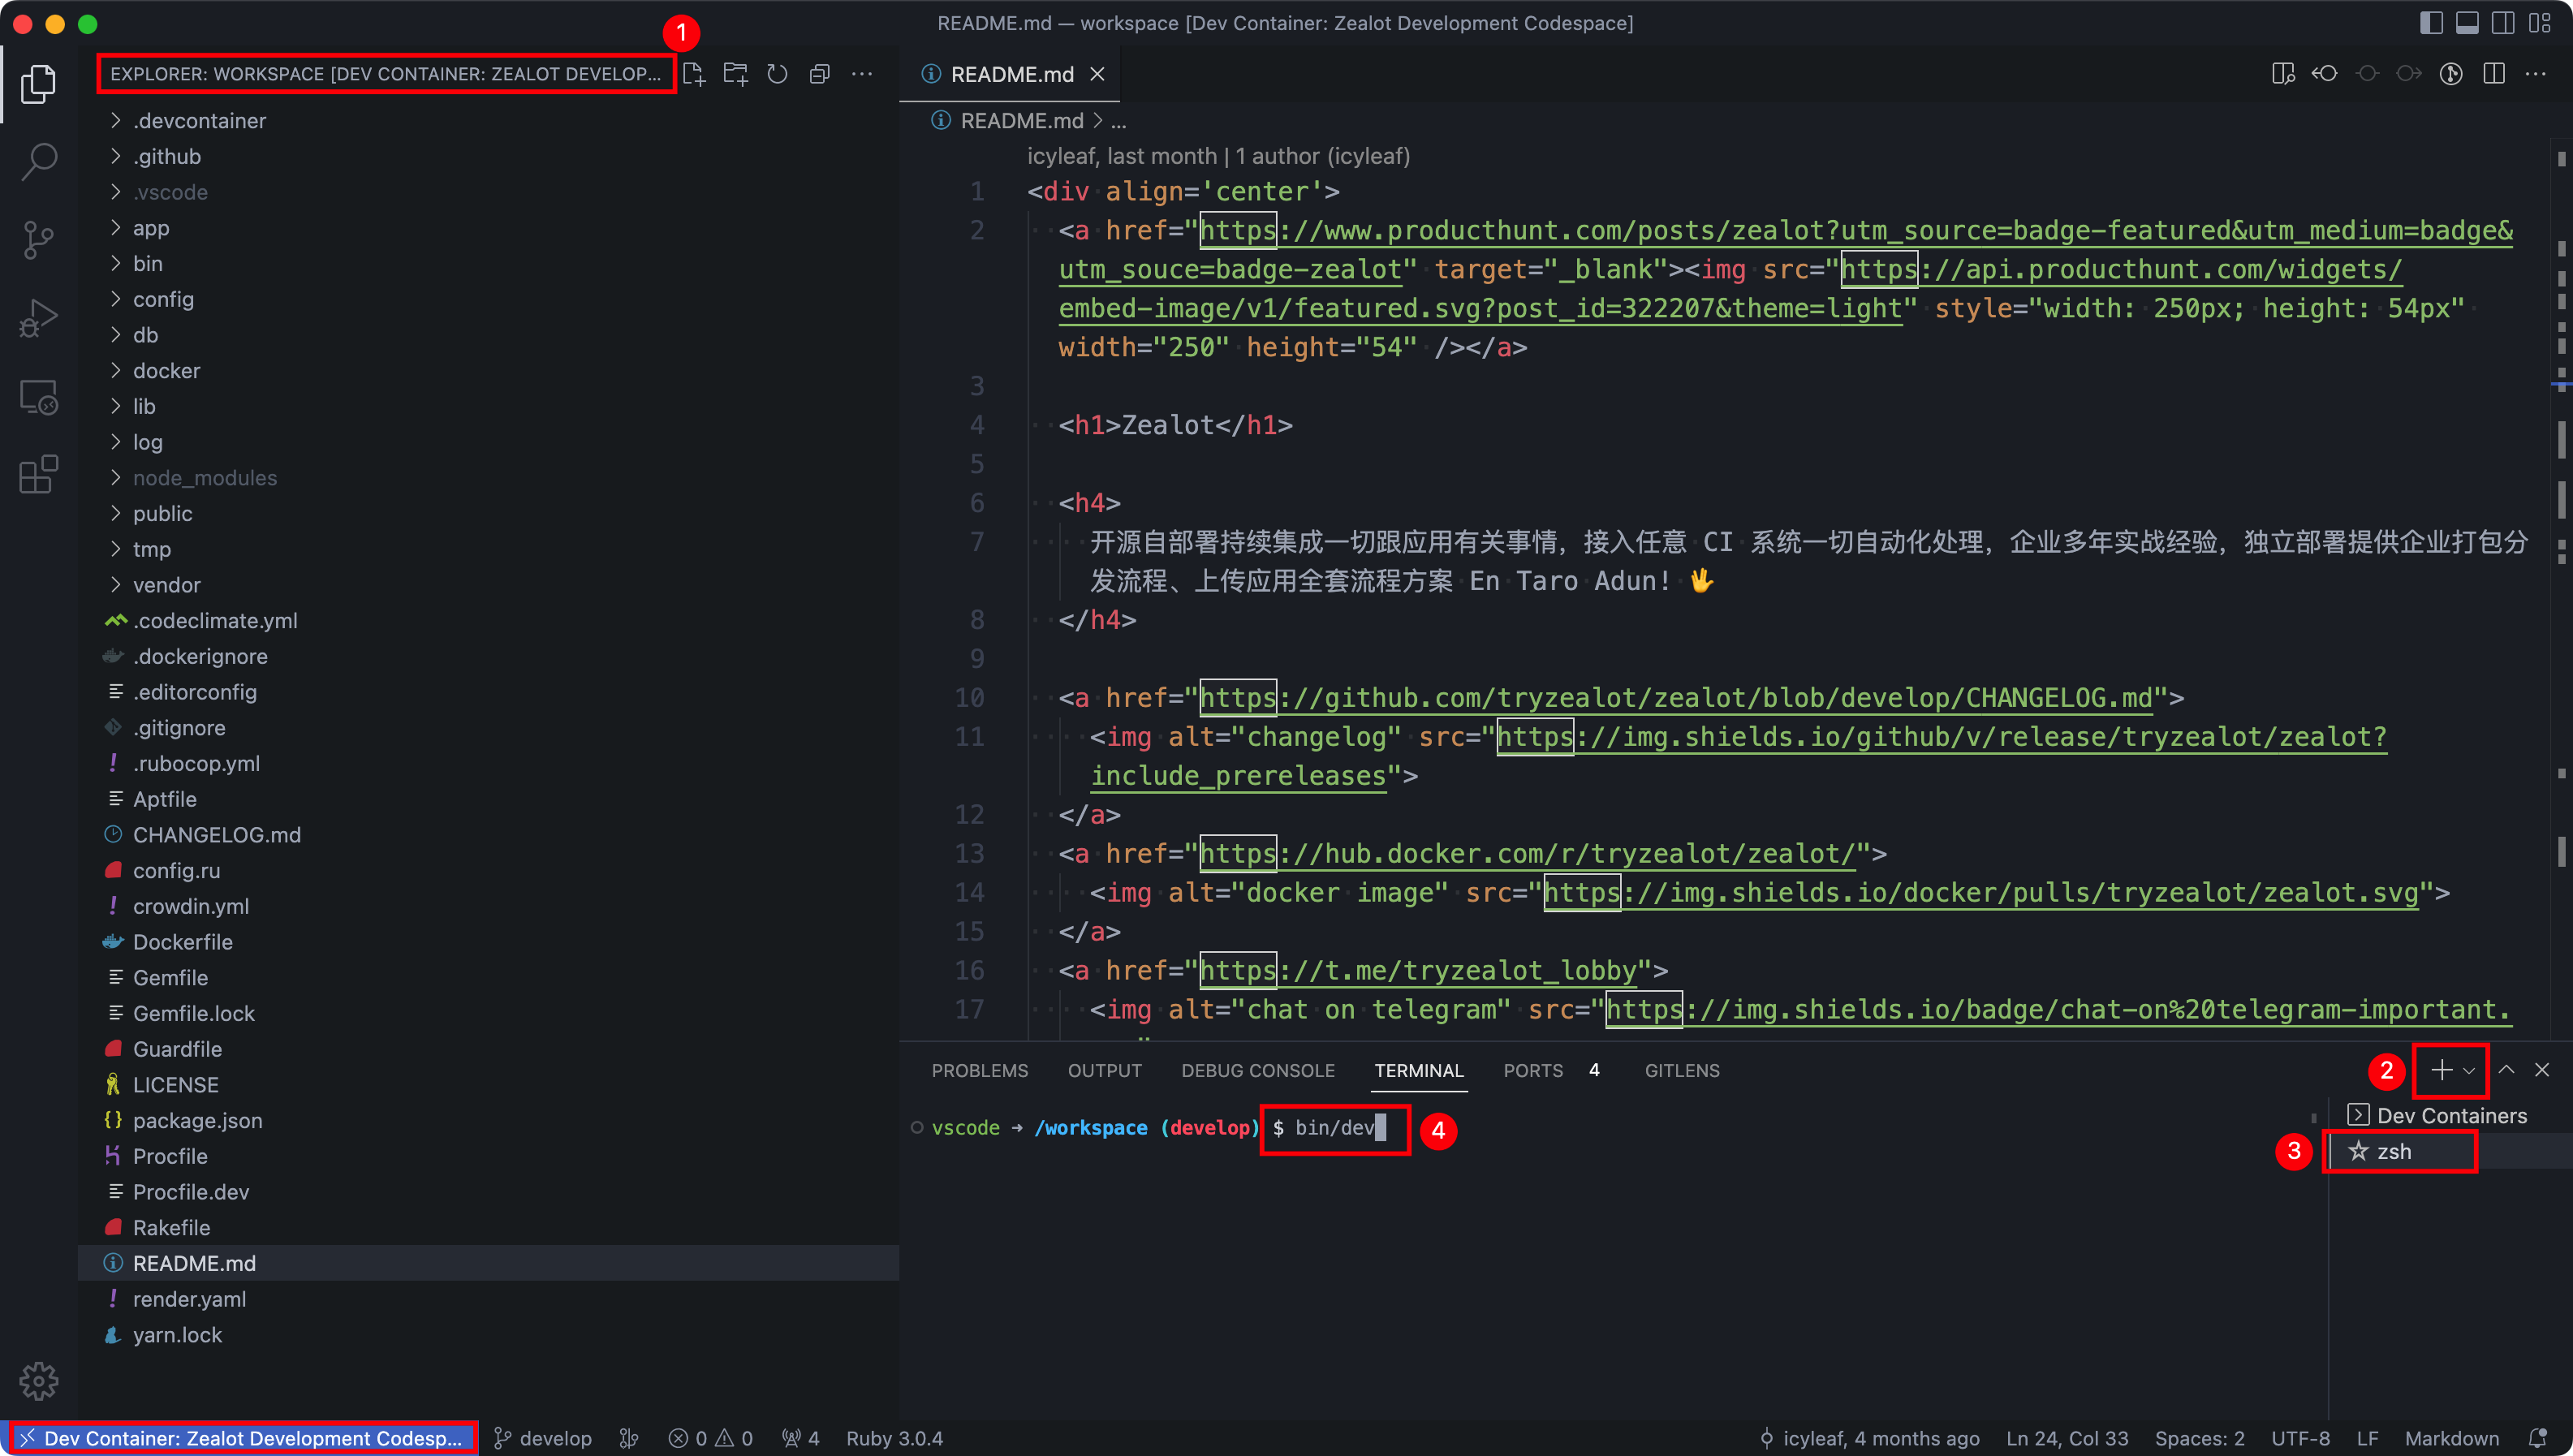
When finish the task, project files will load in file explorer and the zsh terminal. Access log outputs messages:
[7293 ms] Start: Run in container: cat /proc/344/environ
[9836 ms] Port forwarding connection from 53148 > 43379 > 43379 in the container.
[9836 ms] Start: Run in container: /home/vscode/.vscode-server/bin/5235c6bb189b60b01b1f49062f4ffa42384f8c91/node -e
[9981 ms] Port forwarding 53148 > 43379 > 43379 stderr: Connection established
[14988 ms] Port forwarding 53148 > 43379 > 43379 stderr: Remote close
[14999 ms] Port forwarding 53148 > 43379 > 43379 terminated with code 0 and signal null.
[29221 ms] Port forwarding 53148 > 43379 > 43379: Local close
In host Docker containers:

Start the project
Press Ctrl + ` to open the integrated terminal in Visual Studio Code if it isn't already open. then run bin/dev to run all services.
Notice that the terminal prompt might look different than your normal terminal prompt.

Open in browser
A while after run bin/dev, select Ports to see all forwarded ports, Open in Browser in quick way.
